
It was great to be asked to build up a kit that I had mastered. I knew there were not going to be any fitting issues!
The Galactica is a bit of a tricky build as there are six legs that support the left & right landing pods that have to be assembled level and parallel to the center body section. There is some adjusting that needs to be done as there is a little shrinkage from the landing pod parts because of their size. Once I have them glued in position I fill any gaps with white A+B epoxy. The epoxy air dries in about 30 mins and will not shrink over night as it fully cures. It is a strong as steel!
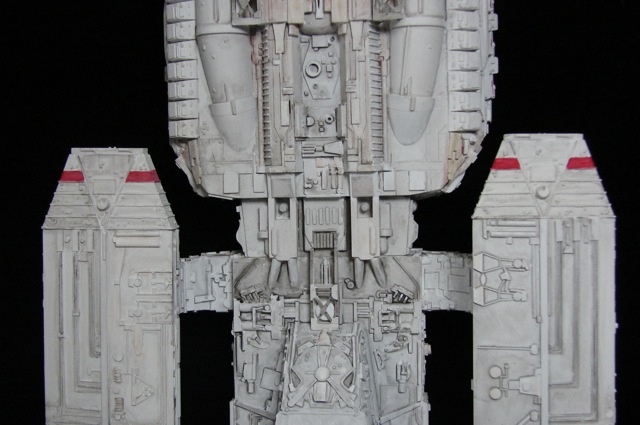
With any model, all of the parts are cleaned and primed before assembly. In the case of the Galactica, there are red stripes on the front and rear areas of the landing pods. It is far easier to apply them before the head and engine parts are in place as they wrap around all sides of the pods. Pictured below are some of the parts being primed. I start with the center section of the model to get the landing bays in place. The center body and all of the legs are primed and assembled, then the pods are glued in position and primed. Then I can apply the red stripes.

Kit parts

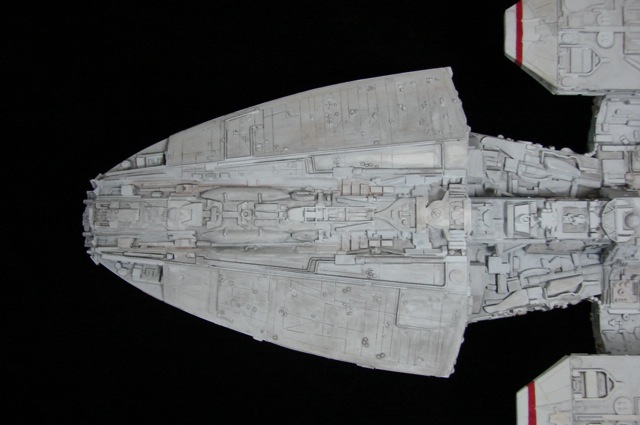
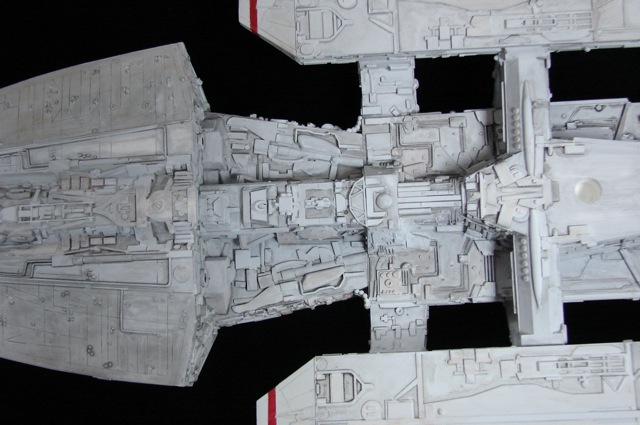
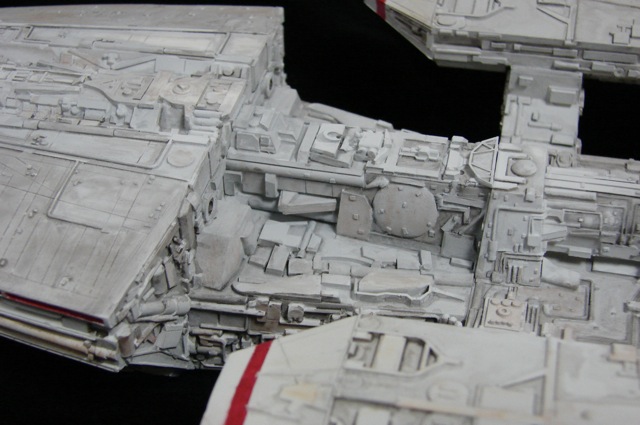
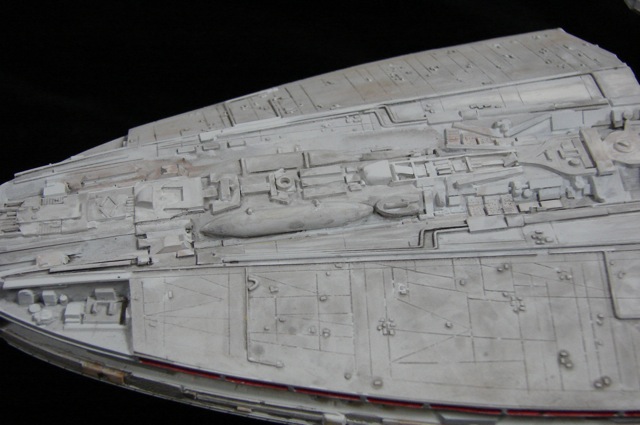
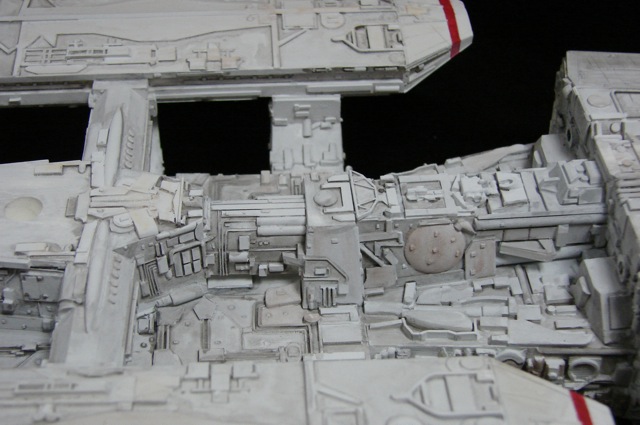
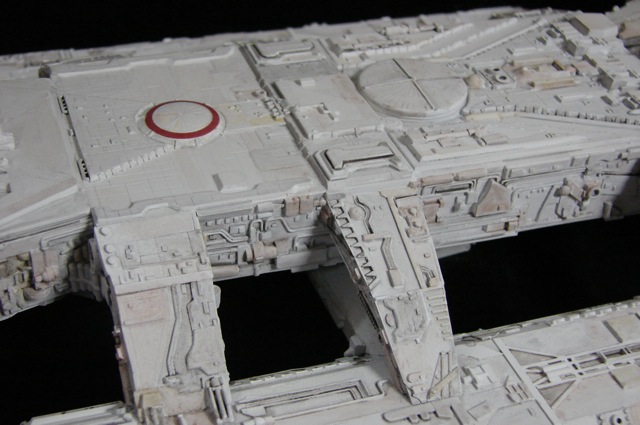
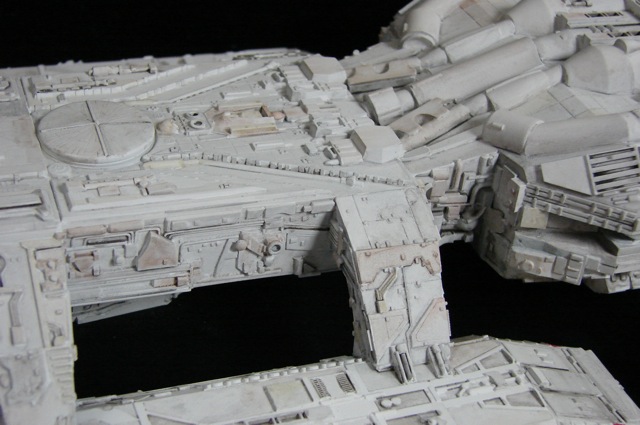
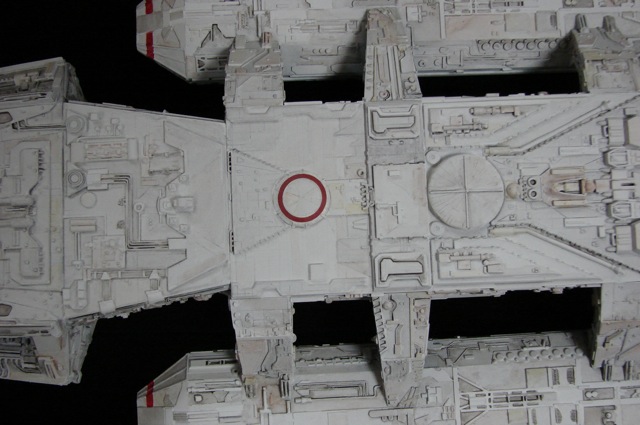
Assembling the mid-section & pods.

Assembling the mid-section & pods.
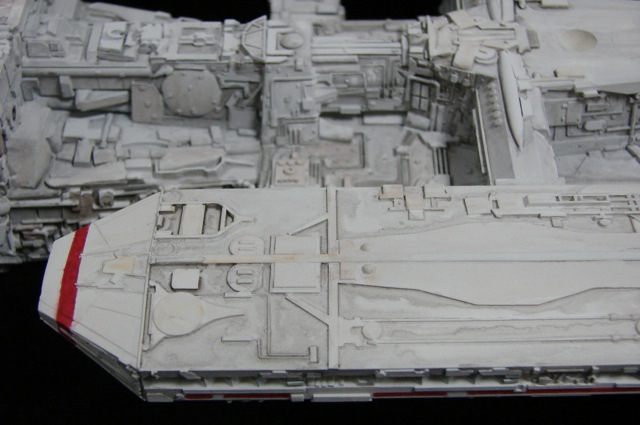
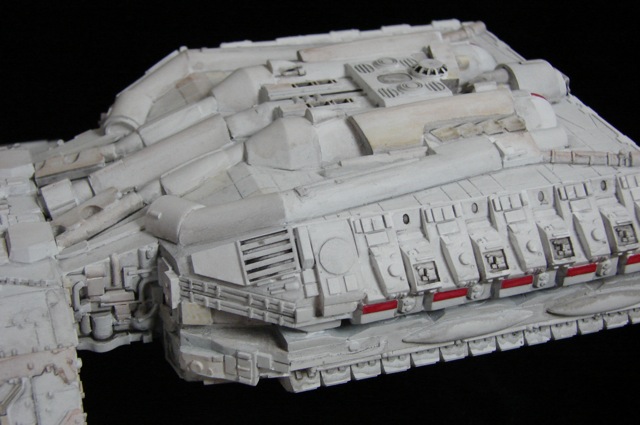
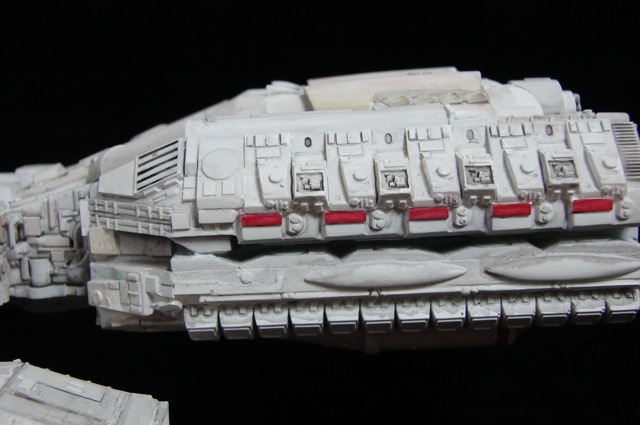
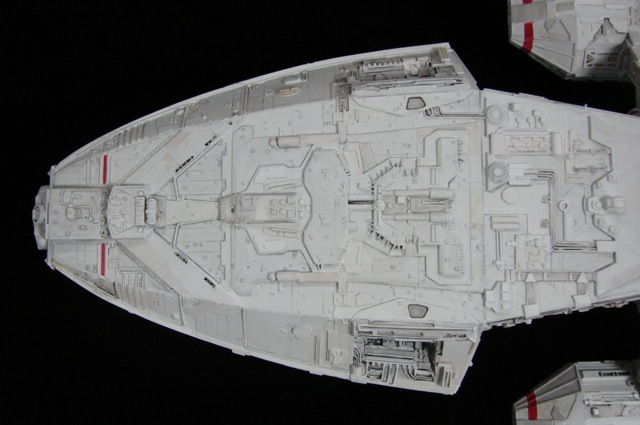
Applying the stripes by hand.

Red stripes done!
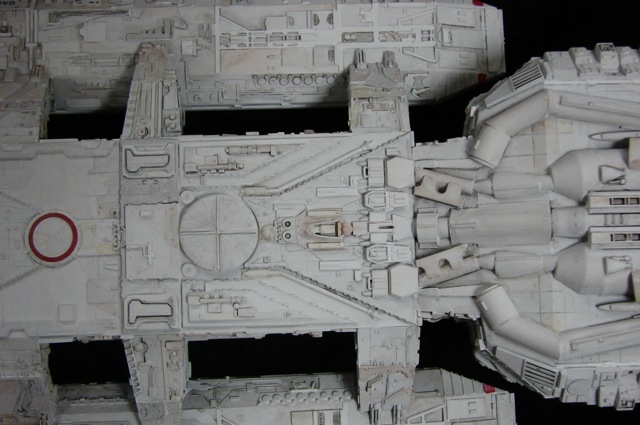
Time to assemble head and engine sections of the kit.
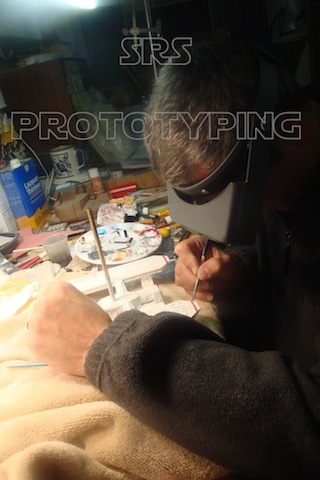
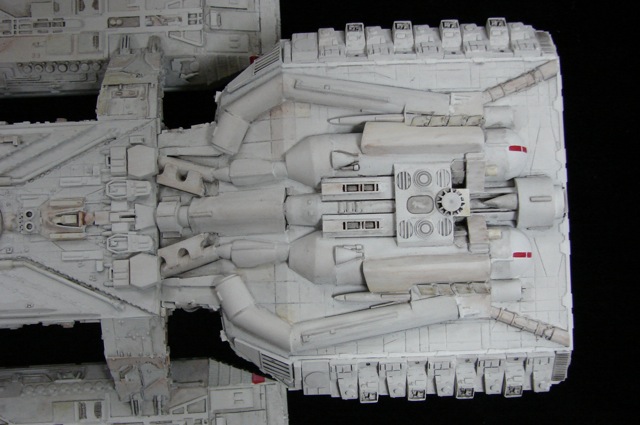
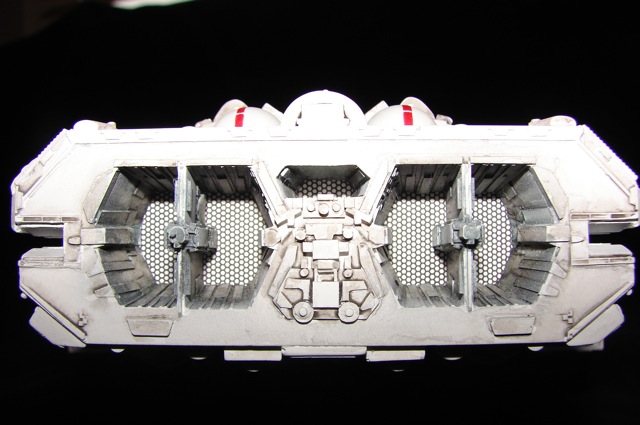
I start with the engine exhaust as that is a precise fit and there are a few steps before the part can be glued into position. The back is opened and the wall ground a filed away until the exhaust part fits in tightly. Then I have to detail and weather the part by adding the hexagon grill patterns and dirt/grime, etc. It looks great when it is finally in place.

Engine exhaust assembly.

Engine exhaust assembly.

Engine exhaust assembly.

Engine exhaust assembly.
I just need to fill and blend the seam and its complete. Now I can attach the engine and head sections and move onto weathering, the really fun part!
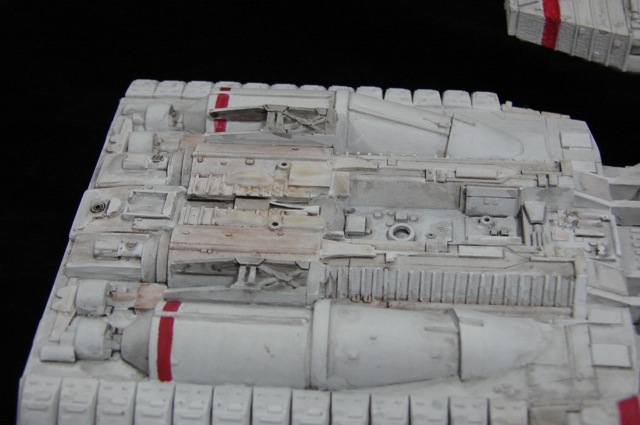
In the original TV series, the Galactica is supposed to be around 500 years old, believe it or not, so the ‘factory white’ fresh coat of paint has to go! I always start on the underside of the model to make sure I have the weathering at the right level or strength. The client also directs me to his/her liking as I progress. I also add color to the model. It will make for a boring display if I used grays and blacks to weather the model. To my mind, a ship as large as the Galactica, a couple of miles I think, is made up of dozens of different materials and they all corrode at different rates in space. This means that there would be a variety of colors on all of the parts and components, so I add them where I think it is interesting, and the client directs me from there.

Weathering

Weathering
Starting to introduce those colors. They appear strong in these images, but a wash of grime, etc., will tone them down.

Underside weathering begins.

Underside weathering begins.
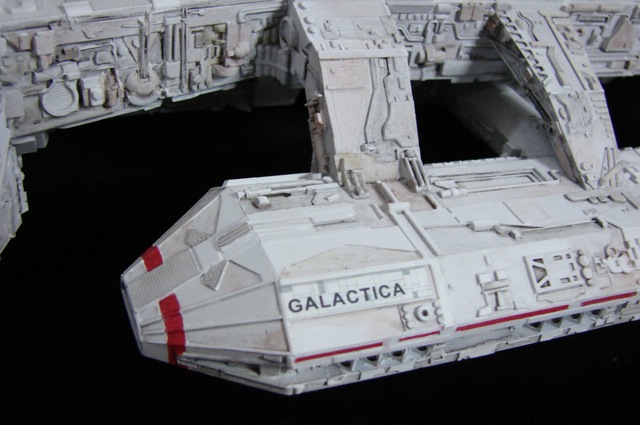
Before I move on to the top side of the model, I apply the rest of the striping to the model. The name decal is also applied at this time.

Top side stripes
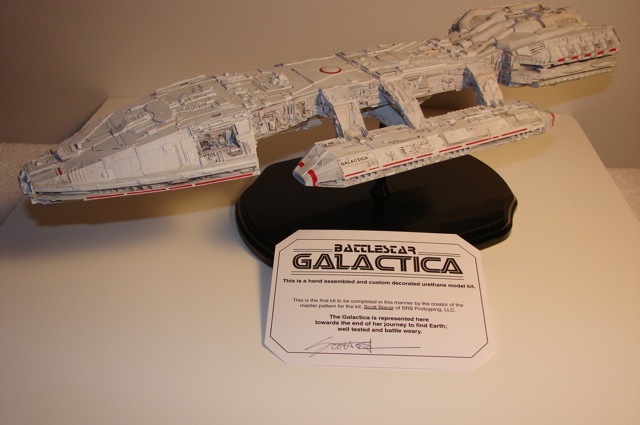
Now that I have approval from the client, I can finish the weathering, make the display base.
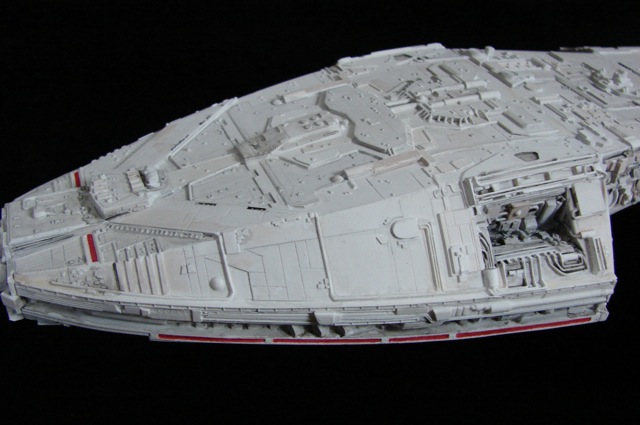
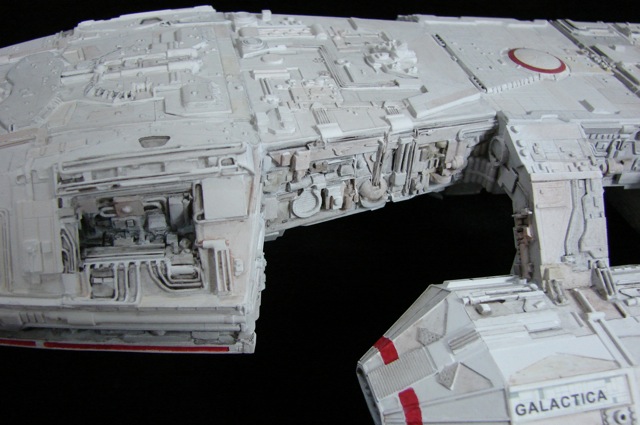
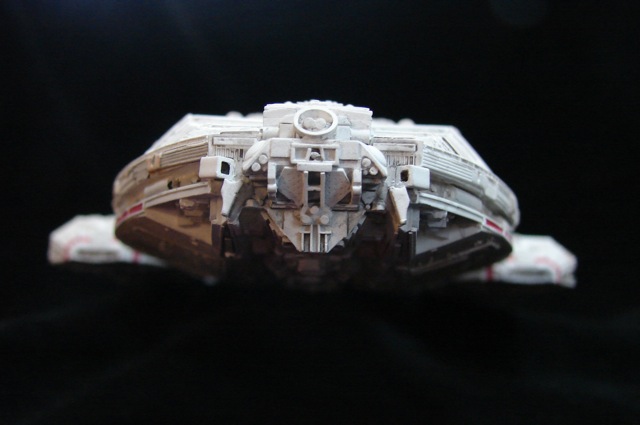
Completed Galactica
Completed Galactica
Completed Galactica
Completed Galactica
Completed Galactica
Completed Galactica
Completed Galactica
Completed Galactica
Completed Galactica
Completed Galactica
Completed Galactica
Completed Galactica
Completed Galactica
Completed Galactica
Completed Galactica
Completed Galactica
Completed Galactica
Completed Galactica
Completed Galactica
Completed Galactica
Completed Galactica
The bottom of the card reads, ‘The Galactica is represented here towards the end of her journey to find Earth, well tested and battle weary’