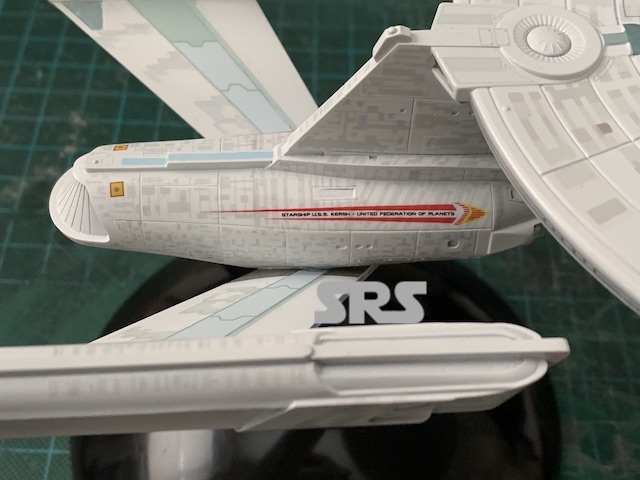
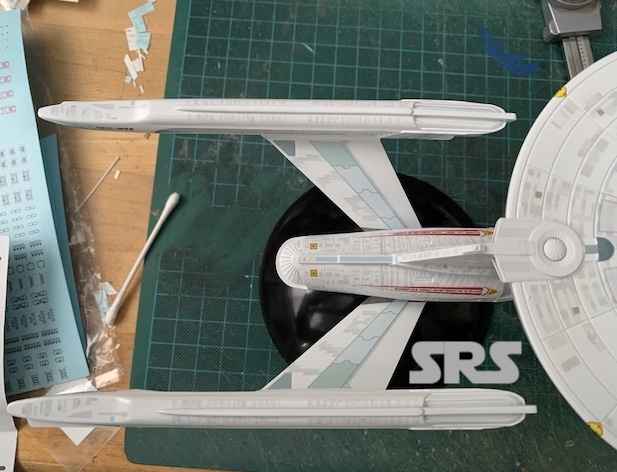
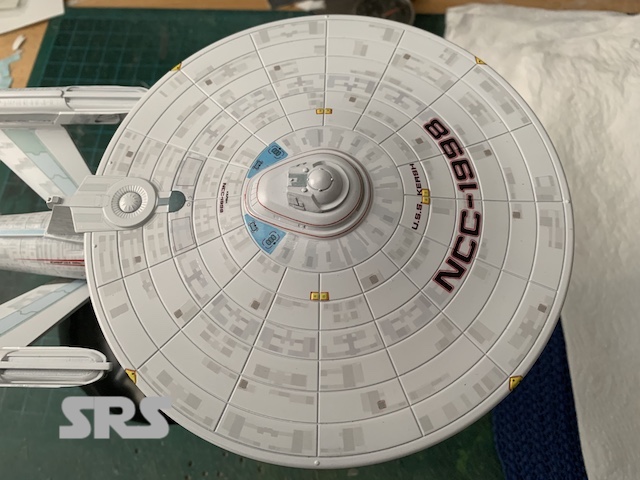
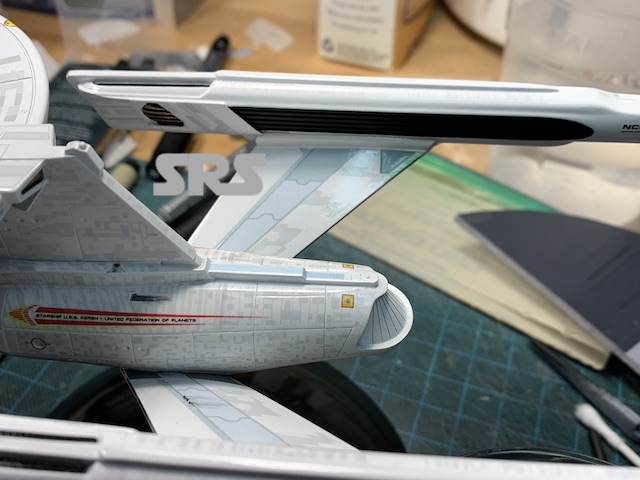
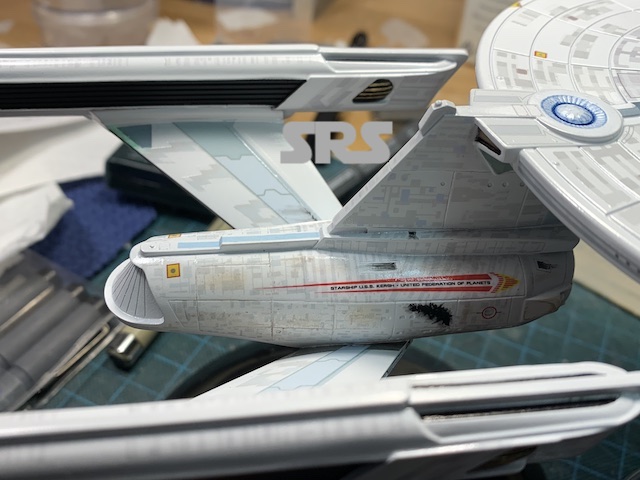
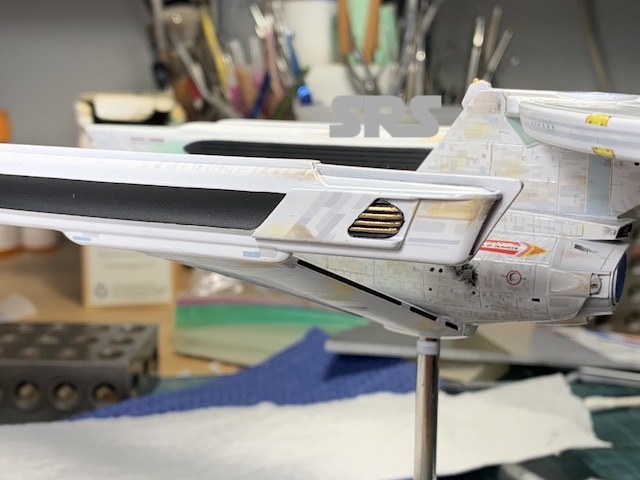
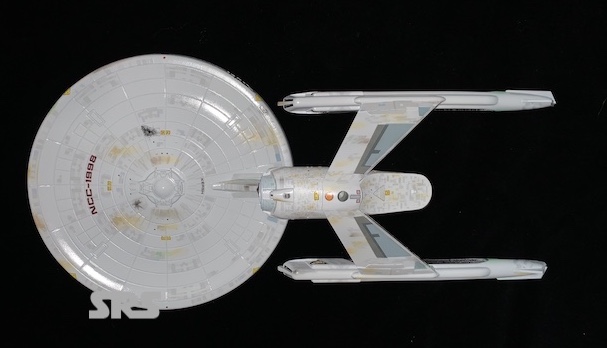
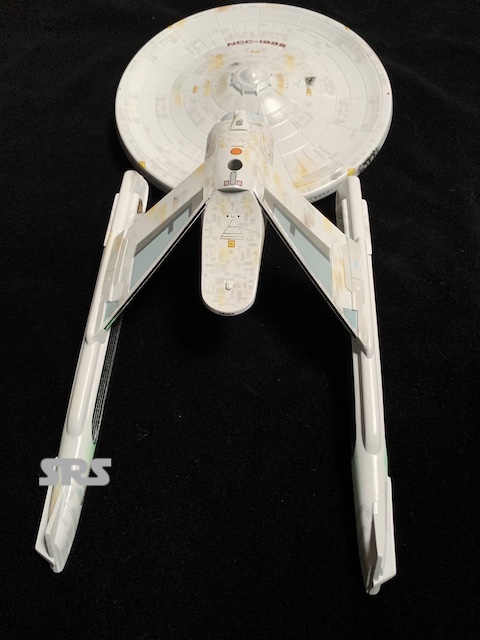
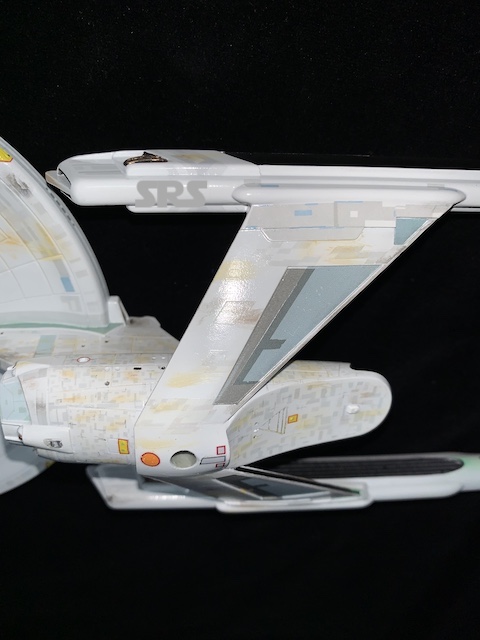
This is another 1: 1000 scale build using the Polar Lights Refit Enterprise kit for the starting point. The Belknap is my favorite of the fan-designs that has been around for some time now.
Parts laid out;
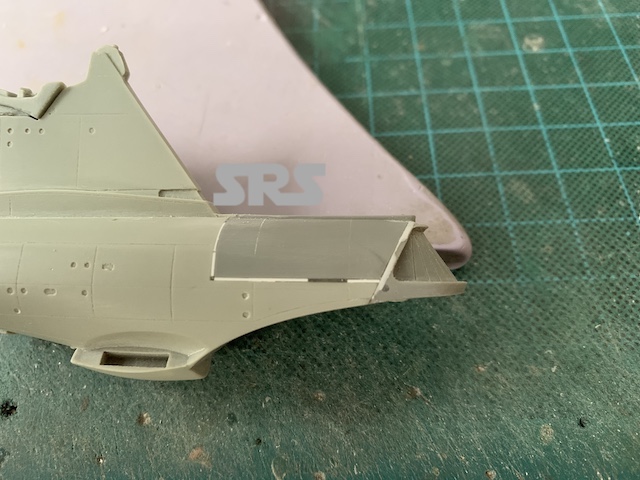
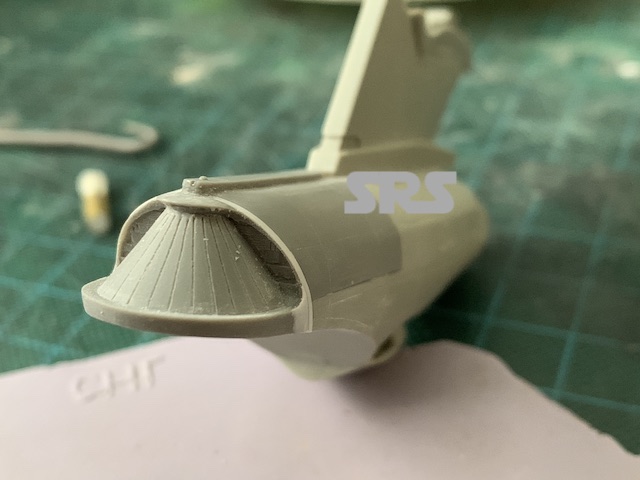
There were some serious shrinkage issues with the secondary hull parts causing problems with fitting together. Spacers were added to align the parts before they were glued into position.
The dorsal section is next to be fit in place. I used Epoxy-Sculpt to blend & fill the gaps.
Some priming & patching before I go further, and then it can be mounted to the display base.
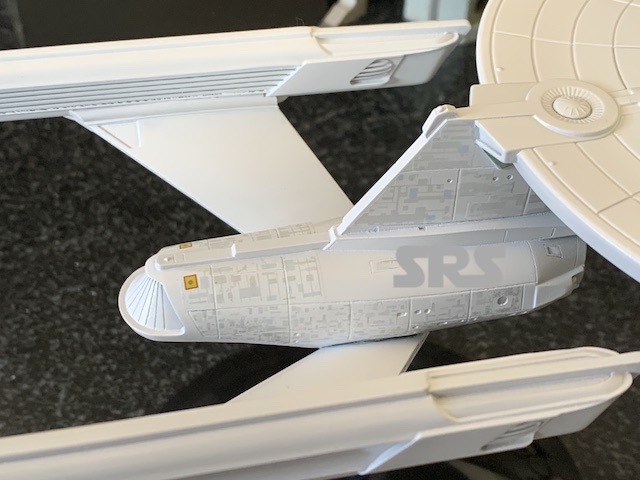
Before any of the parts are permanently assemble, they get a nice coat of the finish white. The after-market B/C deck & bridge are in place. The supplied after-market engines are for the Refit kit, so they will need to be fit to the pylons of the Belknap class at the proper angles.
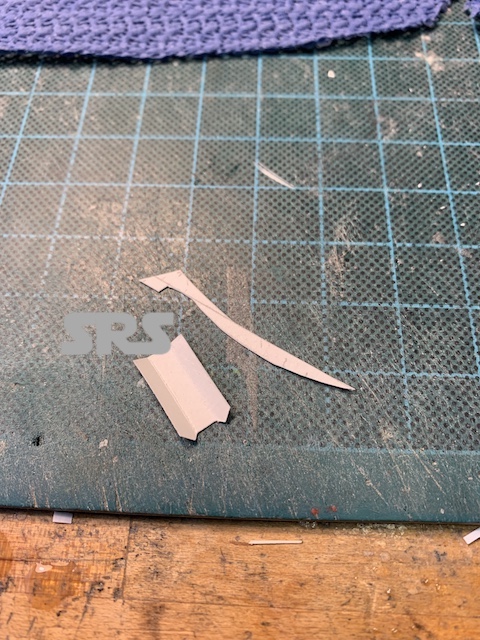
After a nice shiny clear coat, it is decal time. In some cases, I find it helpful to cut a card stock pattern for the shape of the decal I need. I consider this part ‘painting with decals’.
Now that a solid two coats of clear have been applied & dried, I can mask off for the flat black areas.
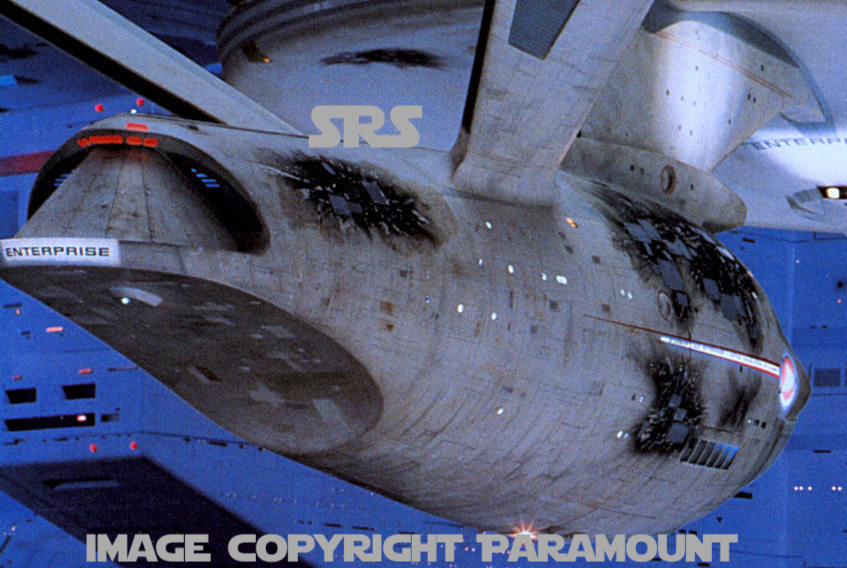
Time to start the weathering & battle damage. The Kersh is battle weary and in need of repair and re-supply. This model will be a little more ‘dirty’ than most of the other models done for this client except maybe the Nimitz. I am using this image from ‘The Search for Spock’ as a guide for space-dirt and battle damage.
Now I have a nice clean canvas to use. I’m starting with the thrusters and moving on to staining & dirt and then adding battle damage.
A
Above, I am starting off with a light pass on the weathering and will be getting stronger gradually so as not to go too far too fast. Getting a little heavier in the image below.
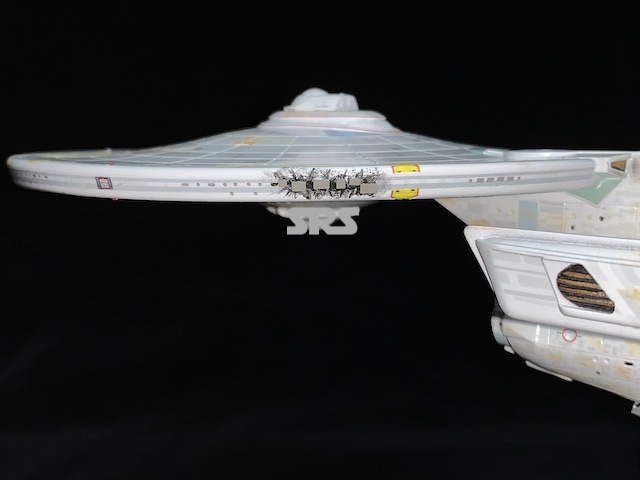
I did not go as far as the Enterprise in the movie for battle damage, just a couple of places.
USS Kersh is finished;
Thanks for looking!!


